Did you know that 54% of homeowners prefer hardwood floors?
If you’re considering a DIY hardwood floor installation, it’s essential to understand the process and best practices.
From selecting the right flooring to maintaining the finished product, this article provides valuable tips for a successful installation.
Whether you’re a seasoned DIY enthusiast or a novice, these professional insights will help you achieve a beautiful and long-lasting hardwood floor in your home.
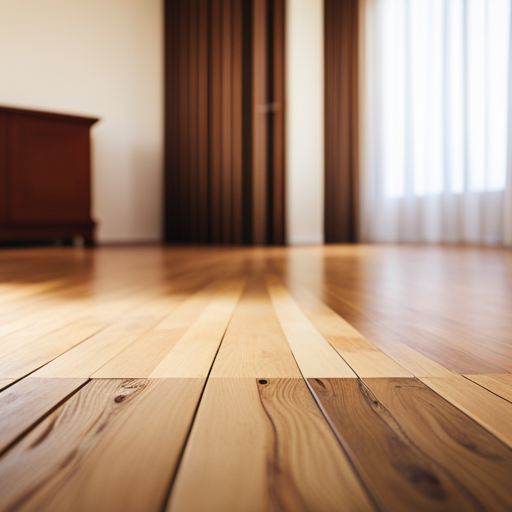
Selecting the Right Hardwood Flooring
When selecting the right hardwood flooring, it is crucial to consider the specific needs and style of your space. Hardwood species play a significant role in determining the overall look and durability of the floor. Each species has its unique characteristics, such as color, grain pattern, and hardness, which can influence the ambiance of the room.
For instance, oak is known for its strength and versatility, making it a popular choice for various interior designs. On the other hand, cherry wood offers a rich, warm tone that can add elegance to a space. It’s essential to select a hardwood species that not only complements the aesthetics of the room but also aligns with its functional requirements.
Moreover, understanding different installation techniques is crucial when choosing the right hardwood flooring. The installation method can impact the floor’s stability and longevity. For instance, the floating floor technique allows the floor to expand and contract with changes in humidity, making it suitable for areas prone to moisture.
Conversely, the nail-down method provides a secure and permanent installation, ideal for high-traffic areas. By considering both the hardwood species and installation techniques, one can make an informed decision that meets both aesthetic and practical needs.
Preparing the Subfloor
Before installing hardwood flooring, it is crucial to ensure that the subfloor is in optimal condition. This involves conducting a subfloor moisture test to prevent future issues.
Additionally, leveling the subfloor is necessary for a smooth and even hardwood floor installation.
Subfloor Moisture Test
A thorough subfloor moisture test is essential for preparing the subfloor before installing hardwood flooring. High moisture levels in the subfloor can lead to warping, buckling, and other issues with the hardwood over time. To ensure a successful hardwood floor installation, it’s crucial to test the subfloor for moisture using accurate testing methods.
Here are some common testing methods:
-
Calcium Chloride Test: This method measures the moisture vapor emission rate on the surface of the subfloor.
-
Relative Humidity Test: It measures the relative humidity within the subfloor using specialized probes.
-
Inspection of Subfloor: A visual inspection can help identify signs of moisture damage, such as discoloration or mold growth.
Using these testing methods will help determine if the subfloor is ready for hardwood floor installation.
Leveling the Subfloor
Regularly assess the subfloor for any unevenness or imperfections before proceeding with hardwood floor installation. Subfloor leveling is crucial for a successful hardwood floor installation.
Proper subfloor preparation ensures that the hardwood flooring will be even, stable, and long-lasting. Begin by thoroughly cleaning the subfloor and removing any debris. Use a long, straight leveling tool to identify any high or low spots, and address these issues accordingly.
For minor imperfections, consider using a floor leveling compound to create a smooth surface. In cases of significant unevenness, shimming or sanding may be necessary. Taking the time to properly level the subfloor will prevent future problems with the hardwood flooring and help ensure a professional-looking end result.
Acclimating the Hardwood Planks
To ensure the proper acclimation of the hardwood planks, the installer should allow the wood to adjust to the room’s humidity and temperature conditions for at least 72 hours. This crucial step helps prevent issues such as warping, buckling, or gaps in the flooring after installation.
Here are some key points to consider during the acclimation process:
-
Proper acclimation, time frame: Allowing the hardwood planks to acclimate for a minimum of 72 hours ensures that they adjust to the environmental conditions of the room, reducing the risk of future problems.
-
Humidity control: It’s essential to acclimate the hardwood in a controlled environment that reflects the typical humidity levels of the room where the flooring will be installed.
-
Temperature adjustments: Maintaining a consistent temperature during acclimation helps the wood adapt to its new surroundings, minimizing the potential for expansion or contraction post-installation.
After the hardwood planks have acclimated properly, the next step is installing the hardwood flooring, which we will delve into in the following section.
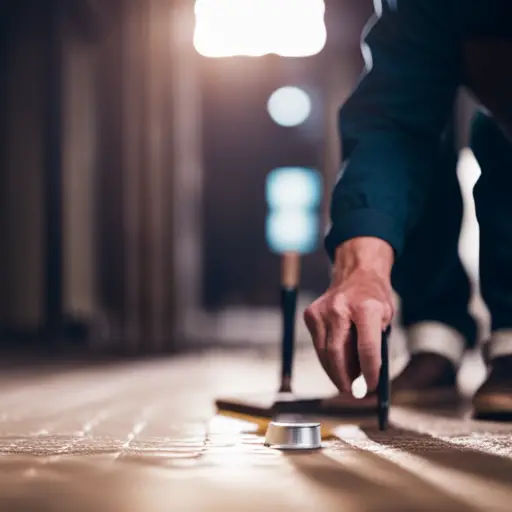
Installing the Hardwood Flooring
Now that the hardwood planks have acclimated, it’s time to focus on the installation process.
Subfloor preparation is crucial for a successful installation, and choosing the right tools can make the job more efficient and precise.
In this section, we will explore essential tips for preparing the subfloor and selecting the appropriate tools to ensure a smooth and professional hardwood floor installation.
Subfloor Preparation Tips
Ensuring a level and clean subfloor is essential for successful hardwood floor installation. Proper subfloor preparation is crucial for the longevity and performance of your hardwood flooring. Here are key subfloor preparation tips to consider:
-
Subfloor repair and leveling: Address any uneven areas, squeaks, or damages in the subfloor before installation to ensure a smooth and stable base for the hardwood flooring.
-
Moisture barrier installation techniques: Install an appropriate moisture barrier, such as a vapor retarder or underlayment, to protect the hardwood flooring from potential moisture damage. Follow manufacturer guidelines for proper installation techniques to maximize the effectiveness of the moisture barrier.
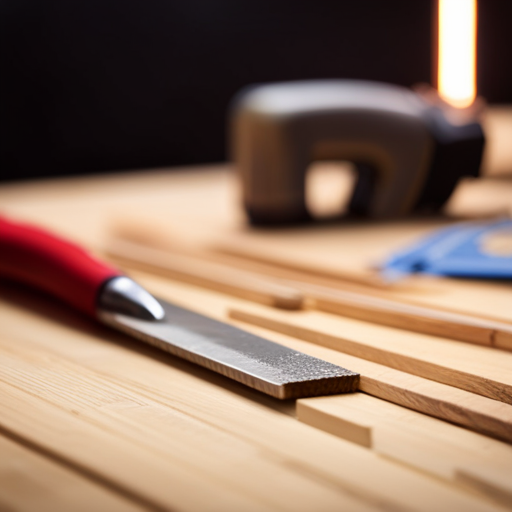
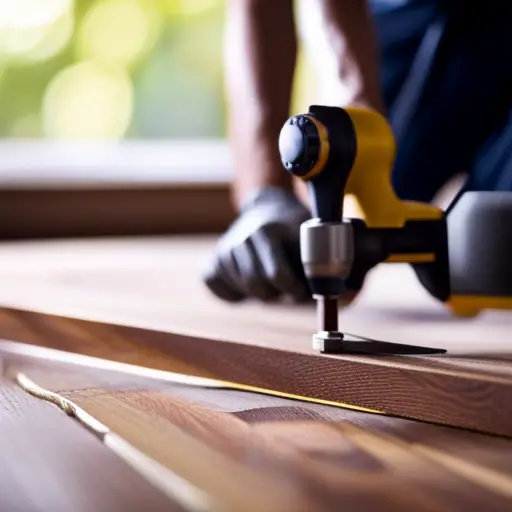
Choosing the Right Tools
For achieving a successful hardwood floor installation, selecting the appropriate tools is crucial. Prior to starting the installation, it’s essential to ensure that all the tools are in good working condition. This involves checking for any signs of wear and tear and performing any necessary maintenance. Safety precautions should also be taken into consideration, such as wearing protective gear like goggles and gloves.
The tools needed for installing hardwood flooring typically include a flooring nailer, a mallet, a tape measure, a chalk line, a jigsaw, a table saw, and a nail set. Using the correct tools and maintaining them properly will not only make the installation process more efficient but also contribute to the quality and longevity of the finished hardwood floors.
Now, let’s delve into the next crucial aspect of the installation process: finishing and sealing the floors.
Finishing and Sealing the Floors
Finishing and sealing the hardwood floors is a crucial step in the hardwood floor installation process. Once the planks are laid down, it’s essential to finish and seal the floors to protect them from wear and tear while enhancing their natural beauty.
Here are some important points to consider when finishing and sealing hardwood floors:
-
Stain options: Before sealing the floors, consider different stain options to achieve the desired color and finish. From light natural tones to rich, dark hues, there are various stain options available to complement your interior decor.
-
Sealant selection: Choose a high-quality sealant that provides durability and protection against moisture, stains, and scratches. Consider factors such as drying time, odor, and ease of application when selecting the sealant for your hardwood floors.
-
Cleaning and maintenance: Proper cleaning and maintenance are essential for prolonging the life of your hardwood floors. Use recommended cleaning products and techniques to preserve the finish and keep the floors looking their best for years to come.
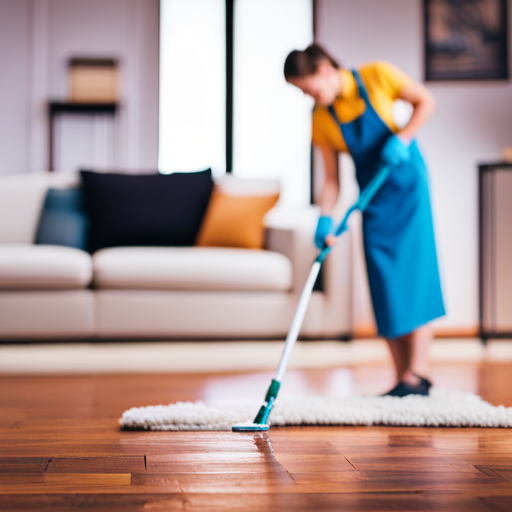
Maintaining Your Hardwood Floors
Proper maintenance is essential to preserve the longevity and appearance of hardwood floors. Regular cleaning is crucial to prevent dirt and debris from scratching the surface.
To maintain hardwood floors, start by using a soft-bristled broom or a vacuum with a floor brush attachment to remove dust and dirt. Avoid using a vacuum with a beater bar, as it can cause scratches.
For deeper cleaning, use a damp mop with a hardwood floor cleaner recommended by the manufacturer. It’s important to avoid using excessive water, as standing water can damage the wood.
Additionally, place felt pads under furniture legs to prevent scratches and dents when moving or rearranging furniture. It’s also advisable to use area rugs in high-traffic areas and entryways to minimize wear and tear.
Lastly, wipe up spills immediately to prevent any potential damage to the wood. By following these cleaning tips and preventing scratches, you can ensure that your hardwood floors maintain their beauty and durability for years to come.
Frequently Asked Questions
How Do I Handle Transitions Between Rooms With Different Flooring Materials?
Flooring transitions between rooms with different materials can be seamlessly managed through thoughtful design options. Consider room layout, visual continuity, and using transition pieces such as T-moldings, reducers, or thresholds to create a cohesive flow.
Can I Install Hardwood Flooring Over Radiant Heating Systems?
Yes, hardwood flooring can be installed over radiant heating systems. Proper insulation and careful consideration of flooring compatibility are crucial. It’s essential to ensure temperature control to prevent damage to the wood and maximize the efficiency of the radiant heating system.
What Are the Best Practices for Preventing Scratches and Dents in Hardwood Flooring?
To prevent scratches and dents in hardwood flooring, implement preventive measures such as placing protective felt pads under furniture legs, using area rugs, and trimming pets’ nails. Applying protective coatings and regular floor maintenance are also essential. Repair techniques may include spot sanding and refinishing.
Are There Any Special Considerations for Installing Hardwood Flooring in High-Humidity Areas Like Bathrooms or Basements?
When installing hardwood flooring in high-humidity areas like bathrooms or basements, handling moisture is crucial. Proper subfloor preparation, moisture barriers, and selecting the right type of hardwood are essential to prevent warping and damage.
How Do I Handle Repairs and Maintenance for Hardwood Floors With Pets in the House?
Pet friendly flooring options include scratch-resistant hardwood or luxury vinyl planks. Regularly trim pets’ nails, place rugs in high-traffic areas, and clean up accidents promptly. Use pet-safe cleaning products and consider refinishing floors as needed.
Conclusion
In conclusion, proper hardwood floor installation requires careful selection of the right flooring, thorough subfloor preparation, acclimation of the planks, precise installation, and finishing and sealing for long-lasting results.
Maintaining the floors is also crucial for ensuring their longevity and beauty. According to a study by the National Wood Flooring Association, properly maintained hardwood floors can last for decades, making them a durable and sustainable flooring option for any home or space.

Rubin Everest, a seasoned expert in the world of flooring, brings a wealth of knowledge and passion to the surface. As the mind behind ebbow.com, Rubin is dedicated to sharing insights on the latest trends, innovative solutions, and expert advice in the realm of flooring. Whether you’re seeking practical tips for installation or design inspiration, Rubin Everest is your go-to source for all things flooring-related, making your journey to the perfect floor an informed and enjoyable experience.