
Ever felt the frustration of uneven floors ruining the pristine look of your newly laid tiles? Fear not, as we unveil the secrets to achieving a flawlessly level surface before tiling.
From meticulous inspection to the precise application of leveling compound, this guide provides expert tips and techniques to ensure a smooth and professional finish.
Say goodbye to unsightly lippage and hello to a perfectly leveled floor that will showcase your tiling prowess.
Inspecting the Floor Surface
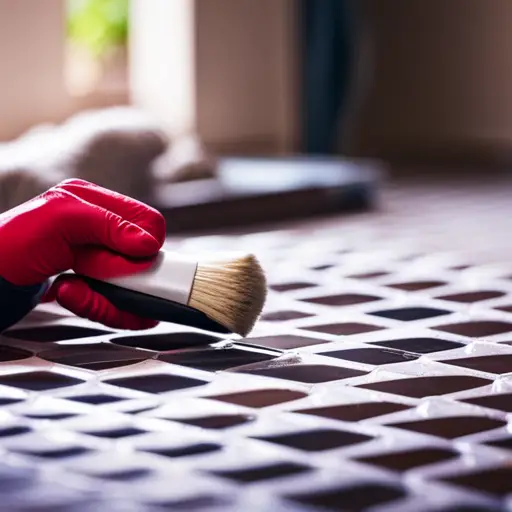
Regularly inspect the floor surface for any irregularities or damage that may affect the tiling process. Floor stability is crucial for ensuring the longevity of the tiles. Any underlying issues with the floor stability should be addressed before proceeding with the tiling process.
Surface imperfections, such as cracks, unevenness, or dips, can lead to an uneven tile installation, resulting in an unattractive and potentially hazardous floor. Therefore, it is essential to meticulously examine the floor surface for any imperfections. Use a straight edge or level to check for any uneven areas that need to be addressed before laying the tiles.
By identifying and rectifying these imperfections early in the process, you can ensure a smooth and stable base for the tiling project.
Transitioning into the subsequent section about ‘selecting the right leveling compound’, it is imperative to address any floor surface irregularities before applying the leveling compound. This preparation ensures that the leveling compound can effectively create a smooth and even surface for tiling.
Selecting the Right Leveling Compound
After thoroughly inspecting the floor surface for any irregularities, it is essential to select the right leveling compound to address any identified imperfections before proceeding with the tiling process. When choosing a leveling compound, it’s important to consider factors such as the type of subfloor, the level of the unevenness, and the type of tile being installed.
Here are some key points to consider when selecting the right leveling compound:
-
Type of Subfloor: Ensure that the leveling compound is compatible with the type of subfloor you have, whether it’s wood, concrete, or a cementitious backer board.
-
Leveling Compound Options: Consider self-leveling options if you need a smooth and even surface. Self-leveling compounds are designed to seek their own level when poured, making them ideal for addressing minor surface imperfections.
-
Mixing Instructions: Pay close attention to the manufacturer’s instructions for mixing the leveling compound. Proper mixing is crucial for achieving the desired consistency and performance of the compound.
-
Application Considerations: Evaluate the drying time and application method that best suits your project. Some compounds may require multiple layers or specific drying conditions.
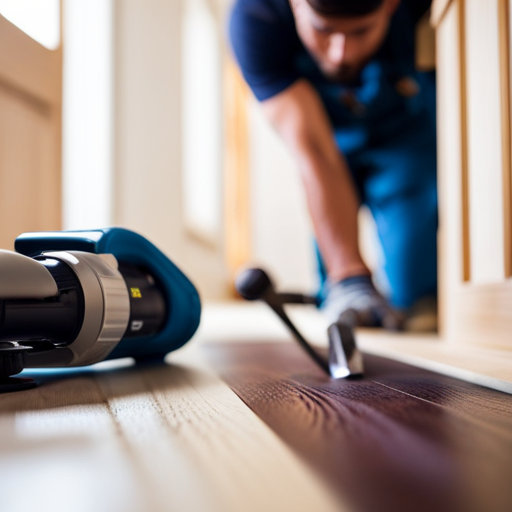
Preparing the Floor for Leveling
Before commencing the leveling process, it is essential to thoroughly clean and degrease the floor surface to ensure optimal adhesion of the leveling compound.
Start by removing any existing floor coverings, such as tiles or carpet, and then sweep the subfloor to remove any debris and dust.
Next, inspect the subfloor for any imperfections, such as cracks, holes, or uneven areas. Use a straight edge or level to identify any dips or high spots that may need to be addressed before applying the leveling compound.
Fill in any cracks or holes with a suitable patching compound and allow it to dry completely before proceeding.
Additionally, consider using a primer to promote better adhesion of the leveling compound to the subfloor. This step is especially important if the subfloor is made of porous materials such as wood or concrete.
Applying the Leveling Compound
To achieve a level surface, the next step after preparing the subfloor is to apply the leveling compound, ensuring a smooth and even foundation for tiling.
Here are some essential guidelines for applying the leveling compound:
-
Prepare the Mixture: Follow the manufacturer’s mixing instructions meticulously to attain the correct consistency. Typically, this involves combining the leveling compound powder with water in a bucket.
-
Begin Application: Start pouring the mixed compound onto the subfloor, focusing on one section at a time. Use a trowel to spread the compound evenly across the surface, ensuring it reaches all the edges and corners.
-
Smooth the Surface: Once the compound is spread, use a straight board or a long-handled squeegee to smooth the surface. This will help remove any excess compound and create a uniform level.
-
Allow Drying Time: After applying the compound, allow it to dry according to the manufacturer’s instructions. This is crucial to ensure that the compound sets properly before tiling can begin.
Following these mixing instructions and smoothing techniques will result in a perfectly leveled surface, ready for the installation of new tiles.
Ensuring Proper Drying and Curing
How can you ensure proper drying and curing of the leveling compound before commencing the tiling process?
The key to achieving proper drying and curing of the leveling compound lies in meticulous moisture testing and thorough surface preparation.
Before applying the leveling compound, conduct a comprehensive moisture test to determine the moisture content of the subfloor. High moisture levels can hinder the drying and curing process, leading to potential issues with the tiling installation.
Additionally, ensure that the subfloor is clean, free of debris, and properly primed to promote adhesion and even drying of the leveling compound.
After the leveling compound has been applied, allow ample time for it to dry and cure according to the manufacturer’s instructions. This may involve creating the ideal environmental conditions, such as adequate ventilation and consistent room temperature, to facilitate the drying process. Rushing this stage can compromise the integrity of the leveling compound and impact the quality of the tiling installation.
Frequently Asked Questions
Can I Use Leveling Compound Over Radiant Floor Heating Systems?
Applying leveling compound over radiant floor heating systems is possible. However, it’s crucial to ensure that the compound is compatible with the specific type of floor heating system and follow manufacturer guidelines for installation to avoid damaging the system.
How Can I Level a Floor With Significant Sloping or Unevenness?
Leveling a floor with significant sloping or unevenness requires careful assessment and appropriate techniques. Options include using self-leveling compounds, floor grinding, or adding plywood underlayment to achieve a smooth, even surface for tiling.
What Is the Maximum Thickness of Leveling Compound I Can Apply?
When applying leveling compound, it’s crucial to consider the manufacturer’s guidelines for maximum thickness. Proper subfloor preparation and a thorough leveling process are essential to ensure the compound’s effectiveness and the success of the tiling project.
Can I Install Tile Directly Onto the Leveling Compound, or Do I Need to Use a Primer or Other Bonding Agent?
When installing tile over leveling compound, it’s crucial to use a primer or bonding agent to promote adhesion. Additionally, consider using a moisture barrier to prevent compatibility concerns. Follow manufacturer’s instructions for proper application technique.
How Long Do I Need to Wait Before Walking on or Installing Tile Over the Leveled Floor?
After proper floor preparation, the drying time for leveling compound varies. Generally, it’s recommended to wait 24-48 hours before walking on the leveled floor. For tile installation, allow the compound to dry completely for optimal tile adhesion and surface bonding.
Conclusion
In conclusion, leveling a floor before tiling is essential for a smooth and professional finish.
By carefully inspecting the floor surface, selecting the right leveling compound, and properly preparing and applying the compound, you can ensure a successful tiling project.
Remember, ‘a level playing field’ is crucial to achieving a satisfactory result, so take the time to properly level your floor before tiling.

Rubin Everest, a seasoned expert in the world of flooring, brings a wealth of knowledge and passion to the surface. As the mind behind ebbow.com, Rubin is dedicated to sharing insights on the latest trends, innovative solutions, and expert advice in the realm of flooring. Whether you’re seeking practical tips for installation or design inspiration, Rubin Everest is your go-to source for all things flooring-related, making your journey to the perfect floor an informed and enjoyable experience.