Embarking on the journey of sanding and refinishing hardwood is akin to transforming a rough gem into a sparkling jewel. With the right tools and techniques, this process can breathe new life into tired floors, restoring their natural beauty and luster.
From preparing the surface to applying the final finish, mastering the basics is essential for achieving professional results. This article will guide you through the essential steps and tips for achieving a flawless hardwood refinishing project.
Essential Tools for Sanding and Refinishing
When it comes to sanding and refinishing hardwood floors, having the right tools is crucial for achieving a professional finish. The first essential tool is sandpaper, which comes in various grits ranging from coarse to fine. Coarse grits, such as 24-36, are used for initial sanding to remove old finishes and level uneven surfaces. Medium grits, like 60-80, are employed for smoothing out the floor, while fine grits, including 100-120, are used for the final sanding to achieve a smooth surface.
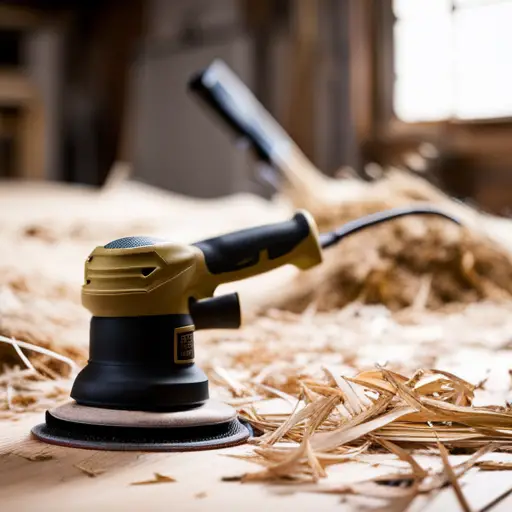
In addition to sandpaper, the techniques used in sanding and refinishing are equally important. The correct sanding technique involves moving the sander in the direction of the wood grain to avoid scratches and swirl marks. Moreover, dust control is a critical aspect of this process. Using a vacuum attachment or a dust collection system can help minimize the spread of wood dust, which can be hazardous if inhaled.
Implementing safety precautions, such as wearing a dust mask and protective eyewear, is essential for personal safety during the sanding and refinishing process. These tools, techniques, and safety precautions are fundamental for achieving a successful hardwood floor refinishing project.
Preparing the Hardwood Surface
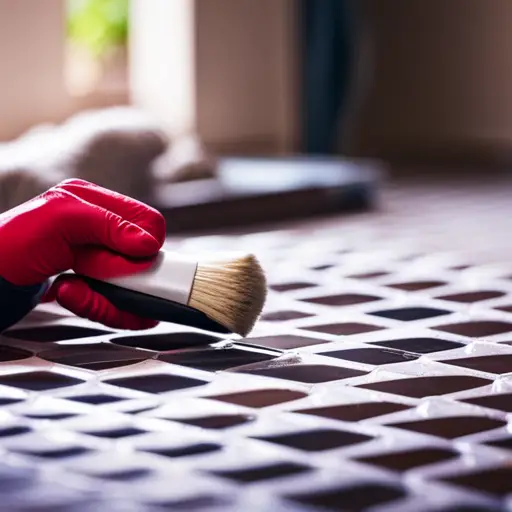
Before sanding and refinishing hardwood floors, it is crucial to thoroughly prepare the surface to ensure a smooth and professional finish. This involves surface cleaning to remove any dirt, dust, or debris that may affect the refinishing process. Additionally, a detailed inspection of the wood is necessary to identify any imperfections, such as scratches, dents, or discoloration, that may require specific attention during the refinishing process.
To provide a clearer understanding, the following table outlines the key steps for preparing the hardwood surface:
| Surface Cleaning | Wood Inspection |
|---|---|
| Remove dust and dirt | Identify scratches, dents, or discoloration |
| Sweep and vacuum | Determine any repairs needed |
| Use a tack cloth to remove remaining debris | Assess the overall condition of the wood |
| Clean with a wood floor cleaner | Plan for specific attention areas |
| Allow the surface to dry completely | Prepare a detailed refinishing plan |
Sanding Techniques and Tips
To achieve optimal results in hardwood refinishing, mastering effective sanding techniques is essential. One of the most common sanding mistakes is not using the right grit sequence. Starting with a coarse grit to remove the old finish and level the floor, then progressing to finer grits for a smooth surface is crucial.
Additionally, failing to sand with the grain can result in noticeable scratches and uneven surfaces. Another common mistake is applying too much pressure, which can lead to uneven sanding and dips in the wood. It’s important to let the sander do the work and simply guide it along the surface.
When it comes to finishing options, there are various choices such as water-based finishes, oil-based finishes, and penetrating oils. Each option has its own advantages and considerations, so it’s essential to select the right finish for the specific hardwood and desired look.
Understanding these sanding mistakes and the available finishing options is vital for achieving a professional and long-lasting hardwood floor refinishing.
Applying Stain and Finish
Regularly, professional hardwood refinishers apply stain and finish to enhance the natural beauty and durability of the wood. Stain application is a crucial step in the refinishing process, as it allows the wood to take on a new color while still showcasing its natural grain. Before applying the stain, it’s essential to thoroughly clean and prepare the wood surface to ensure an even and consistent color. When choosing a stain, consider the wood species and desired end result to achieve the perfect hue.
Finishing techniques play a vital role in protecting the wood and enhancing its overall appearance. There are various sheen options available, ranging from a high-gloss finish to a matte appearance, each providing a different look and level of durability. The finishing process involves applying multiple coats of a protective finish to safeguard the wood from moisture, wear, and tear. It’s important to select a finish that complements the stain and meets the specific needs of the space.
Maintenance and Care Tips
Ensuring regular maintenance and care of hardwood floors is essential to preserve their beauty and longevity. Here are some important tips to help you maintain and care for your hardwood floors:
-
Preventing Scratches:
- Place felt pads under furniture legs to prevent them from scratching the floor when moved.
- Encourage family members and guests to remove their shoes before walking on the hardwood floors to minimize the risk of scratches from debris on the bottom of shoes.
-
Wood Cleaning:
- Regularly sweep or vacuum your hardwood floors to remove dirt and debris.
- Use a damp mop with a hardwood floor cleaner to clean the floors, ensuring that excess water is not left standing on the surface.
- Avoid using harsh cleaning chemicals or steam mops as they can damage the wood.
-
Area Rug Placement:
- Place area rugs in high-traffic areas and under furniture to protect the wood from wear and tear.
- Be sure to use rugs with a natural backing to allow the wood to breathe and prevent moisture buildup.
-
Regular Maintenance:
- Schedule regular maintenance such as professional cleaning and resealing to keep your hardwood floors in top condition.
- This will help to maintain their luster and durability for years to come.
Frequently Asked Questions
How Long Should I Wait Before Walking on the Refinished Hardwood Floors After Applying the Final Coat of Finish?
After applying the final coat of finish on refinished hardwood floors, it is advisable to wait for the recommended walking time specified by the finish type. This usually ranges from 24 to 48 hours to ensure proper curing and durability.
Can I Sand and Refinish Engineered Hardwood Floors, or Is It Only Suitable for Solid Hardwood?
Refinishing engineered hardwood floors is possible, but it requires careful consideration. Unlike solid hardwood, engineered hardwood has a thinner layer of real wood, limiting the number of times it can be sanded and refinished.
What Are Some Common Mistakes to Avoid When Sanding and Refinishing Hardwood Floors?
Avoiding common mistakes when sanding and refinishing hardwood floors is crucial. Using proper tools, technique, and attention to finishing touches is essential. Any oversight can lead to costly rework, undermining the beauty of the finished floor.
Is It Possible to Change the Color of My Hardwood Floors When Refinishing, or Do I Have to Stick With the Original Color?
Yes, it is possible to change the color of hardwood floors during the refinishing process. There are various color options available to achieve the desired look. It’s important to follow hardwood floor safety precautions during the refinishing process.
Are There Any Health or Safety Precautions I Should Take When Sanding and Refinishing Hardwood Floors, Especially if I Have Asthma or Allergies?
When sanding and refinishing hardwood floors, it’s crucial to prioritize health precautions, especially for individuals with asthma or allergies. Ensure proper ventilation, use protective gear, implement dust control, and safeguard the floor to maintain safety and minimize health risks.
Conclusion
In conclusion, mastering the basics of sanding and refinishing hardwood requires the right tools, proper preparation, and attention to detail.
By utilizing the correct sanding techniques and applying stain and finish with care, you can bring out the natural beauty of the hardwood surface.
Remember to regularly maintain and care for your refinished hardwood to ensure its longevity and enduring appeal.
Just like polishing a gemstone, sanding and refinishing hardwood can reveal its true brilliance.

Rubin Everest, a seasoned expert in the world of flooring, brings a wealth of knowledge and passion to the surface. As the mind behind ebbow.com, Rubin is dedicated to sharing insights on the latest trends, innovative solutions, and expert advice in the realm of flooring. Whether you’re seeking practical tips for installation or design inspiration, Rubin Everest is your go-to source for all things flooring-related, making your journey to the perfect floor an informed and enjoyable experience.